
Turn Your Obsidian Notes into Blogs in 1 Click — Here’s How
Note: This documentation applies to DasPress v2.0 only.
DasPress is actively evolving — check the official site for the latest updates and features.Table of Contents
What is DasPress?
Welcome to the official documentation for DasPress v2.0, a one-click publishing tool that converts your Obsidian notes into fully formatted Jekyll blog posts. It’s designed to:
- Eliminate friction in the writing-to-publishing workflow
- Help you build a consistent writing habit
- Boost productivity with minimal configuration
DasPress is built for:
- 💤 Anyone who avoids publishing due to setup hassles
- 💻 Power users willing to configure once and publish with one click
- ✨ Bloggers seeking a seamless publishing workflow
This manual walks you through installation, configuration, and usage from source.
Install and Configure DasPress (From Source)
DasPress is a Python-based tool and can be installed using pip.
Step 1: Install Python
Download and install the latest version of Python: 🔗 https://www.python.org/downloads/
Make sure to check the box “Add Python to PATH” during installation.
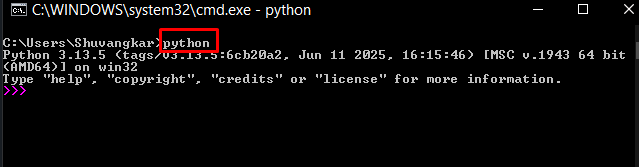
Step 2: Verify Python Installation
Open a command prompt and run:
python --version
# or
python3 --version
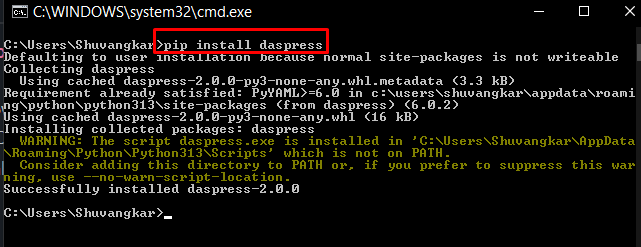
Step 3: Install DasPress via pip
In a fresh terminal, run:
pip install daspress
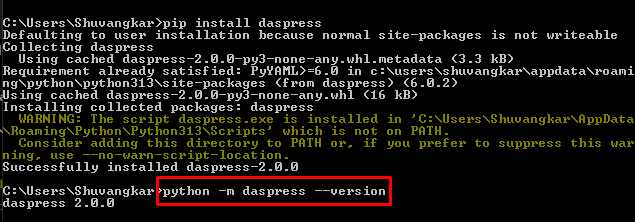
Step 4: Verify DasPress Installation
Confirm the installation with:
python -m daspress --version
🛠 Configure DasPress (One-Time Setup)
This step ensures DasPress knows where your blog folders and assets live.
✅ You’ll need four folder paths:
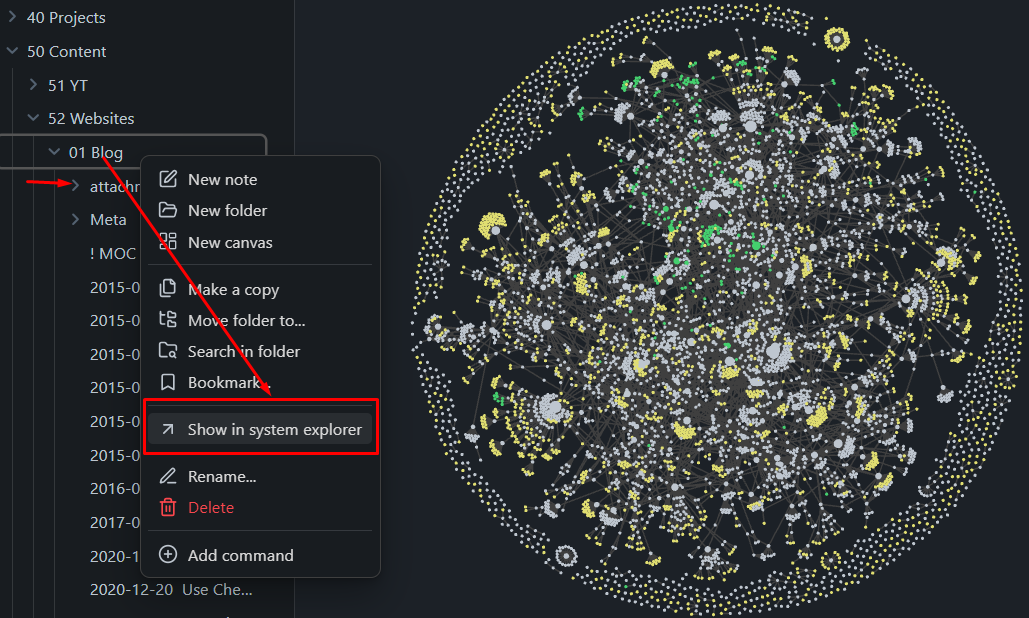
- Obsidian Blog Folder This is where your blog markdown files are stored.
- Image Attachment Folder (Inside Obsidian)
Typically a subfolder like
attachments/under your blog folder. - Jekyll Blog Post Directory
For GitHub Pages, this is usually the
_posts/folder. - Jekyll Blog Image Directory
Where images go in your blog repository (e.g.,
assets/img).
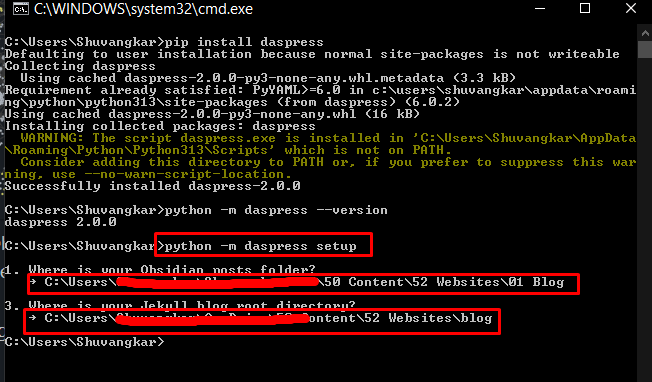
Step 5: Run DasPress Setup
In your terminal:
python -m daspress setup
This will prompt you to enter the above folder locations. They’ll be saved for future use.
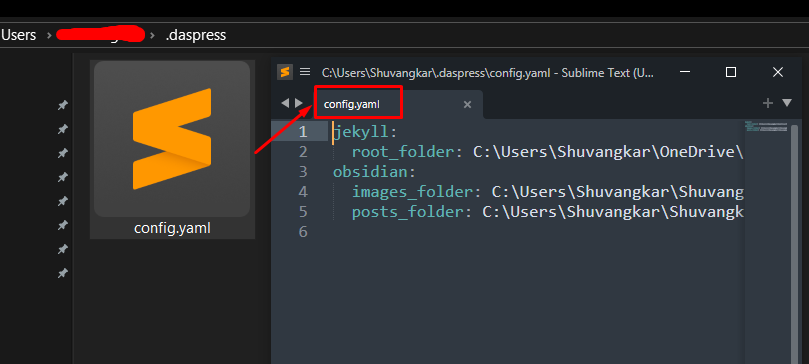
Step 6: Confirm Setup
After setup, navigate to your user directory:
~/.daspress/config.json
You should see your saved configuration.
 Congratulations! Configuration is complete. Now it’s time to boost your productivity.
🔗 Connect DasPress to Obsidian
DasPress works through the command line, so we’ll connect it to Obsidian using a plugin.
Prerequisites
- You have a working GitHub Pages or Jekyll blog setup on your machine.
- You can push to your remote GitHub repo.
Step 1: Install Required Obsidian Plugins
- Shell Commands Allows you to run terminal commands from Obsidian.
- (Optional) Commander Plugin Lets you add buttons and shortcuts for commands.
Step 2: Create Shell Command
Add a new command in Shell Commands:
python -m daspress remote ""
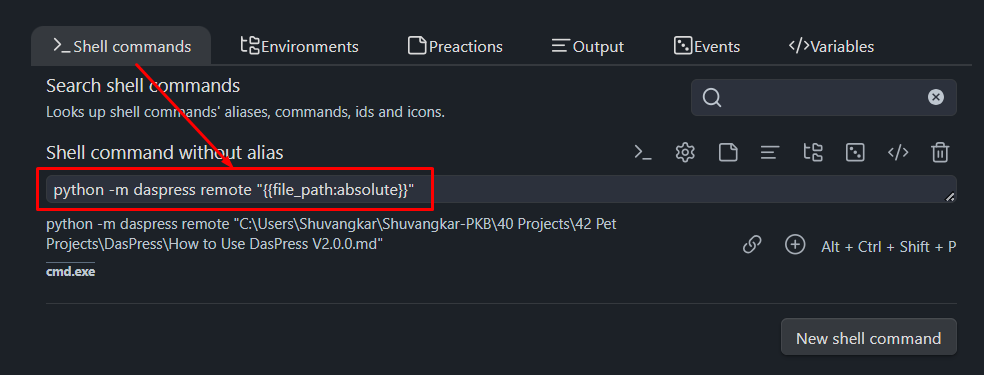 This command is instructing Obsidian to run DasPress and pass the current file absolute path to it.
Also this command doing multiple steps, converting your blog, then pasting into your Jekyll site then doing all of the git push stuffs.
This command is instructing Obsidian to run DasPress and pass the current file absolute path to it.
Also this command doing multiple steps, converting your blog, then pasting into your Jekyll site then doing all of the git push stuffs.
Currently, Obsidian support four commands. You can experiment others as well. I normally start with convert (replace remote with convert) command to make sure DasPress is working. Then go with remote command
You can replace convert with any of the following supported commands:
| Command | Description |
|---|---|
convert |
Convert note to blog post (Jekyll format only) |
local |
Convert + Preview in local Jekyll server (Need Jekyll local setup) |
remote |
Convert + Push to remote GitHub repo |
both |
Convert + Preview + Publish |
Using DasPress Inside Obsidian
Once Shell Command is set up, you can publish blogs in three ways:
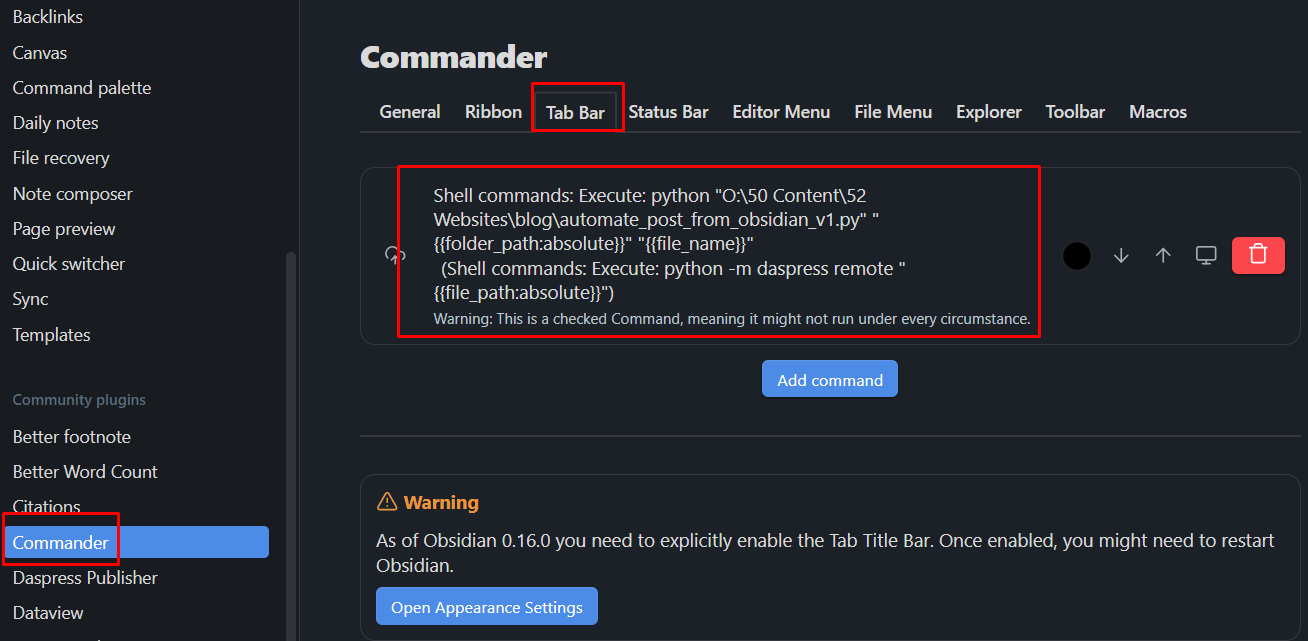
🔘 Method 1: Button (Recommended)
- Use the Commander Plugin to create a toolbar button.
- Link it to your DasPress command (e.g.,
remoteorboth). - Clicking the button will publish your blog post.
🎛 Method 2: Command Palette
- Open Obsidian’s Command Palette (
Ctrl+P) - Search for your custom shell command
- Run it manually
🎹 Method 3: Keyboard Shortcut
- Go to
Settings > Hotkeys - Search for “Shell Command”
- Assign your preferred hotkey
Now you can publish your blog with just one click or keystroke 🚀
🧪 Example Workflow
Normally I go with button at the top right. I used commander plugin to configure the button.
Finally when my blog is ready, I click the button and bam! my blog is online.
🧰 Troubleshooting
ModuleNotFoundError: No module named 'daspress'
- Reinstall with
pip install daspress - Confirm the environment
Command not recognized (python or daspress)
- Add Python to your system PATH
- Try
python3instead ofpython
Obsidian shell command not working?
- Use the full path to your Python executable
- Ensure plugin permissions are enabled
🔄 Updating & Uninstalling
To update:
pip install --upgrade daspress
To uninstall:
pip uninstall daspress
📌 Final Tips
- Want automatic blog deployment? Use
remoteorbothcommands. - Need Markdown cleanup or formatting options? Check the DasPress GitHub for advanced settings.
- Prefer no-code? Use the portable app.
Real stories. Practical lessons. Right in your inbox.
No spam—just once a week.
👋 About Me
Hi, I’m Shuvangkar Das — a power systems researcher with a Ph.D. in Electrical Engineering, currently working as a Research Scientist. I work at the intersection of power electronics, inverter-based DERs (IBRs), and AI to help build smarter, greener, and more stable electric grids.
My work spans large-scale EMT simulations, firmware development, reinforcement learning, and hardware prototyping. Beyond engineering, I’m also a YouTuber and content creator — sharing hands-on insights on productivity, research, and knowledge management. My goal is simple: to make complex ideas more accessible and actionable for everyone.
Connect with me:
📚 Obsidian Notes I Used for This Blog
[[How to Use DasPress V2.0.0]]
Leave a comment